Hello guys, it’s me @dheerajydv19 , and in today’s blog, we will be learning about a customizable vulnerability scanner, “Nuclei”, created by ProjectDiscovery.
Introduction -
Nucle is a fast and customizable vulnerability scanner that scans for vulnerabilities based on Yaml templates. It has the potential to scan a number of hosts in just a few minutes. It is designed to be highly customizable and flexible, allowing users to create templates per their needs or specific use. These templates are essential rules or scrips that define what exactly nuclei should look for when scanning.
Now, let’s understand about what are the advantages and disadvantages of Nuclei.
Advantages -
- Speed - It is designed to quickly scan a large number of URLs in a few minutes.
- Customization - It allows you to create your own templates or modify the existing ones as per your need. Also, it offers the flexibility to choose exactly what templates you want to use or for what vulnerabilities you wanted to scan.
- Ease of use - It is easy to use and very user-friendly.
- Extensibility - It can be integrated into a wide range of other security tools like Burpsuite.
- Notification system: Nuclei supports webhooks, which means that it can notify external systems when a vulnerability is detected.
Disadvantages -
- False Postives - Like other automated scanners, it can also give false positives.
- Limited Scope - It covers scanning for a lot of vulnerabilities and misconfiguration but still it cannot cover all types of vulnerabilities.
- Dependency on templates - It only scans for vulnerabilities whose templates are defined and would miss the vulnerability for which we don’t have any template.
Installation -
Nuclei can be installed in a variety of ways.
Installing via Go -
If you have go1.19, just parse the below command in your terminal.
go install -v github.com/projectdiscovery/nuclei/v2/cmd/nuclei@latest
Installing via brew -
brew install nuclei
Installing via Github -
git clone https://github.com/projectdiscovery/nuclei.git; \
cd nuclei/v2/cmd/nuclei; \
go build; \
mv nuclei /usr/local/bin/; \
nuclei -version;
Installation via Docker -
docker pull projectdiscovery/nuclei:latest
Once the installation is done, check if it’s installed correctly by giving the nuclei-h command in the terminal.
Some community-curated templates can be downloaded from the GitHub repo.
https://github.com/projectdiscovery/nuclei-templates
If you want more templates, you can find them via dorking.
Usage -
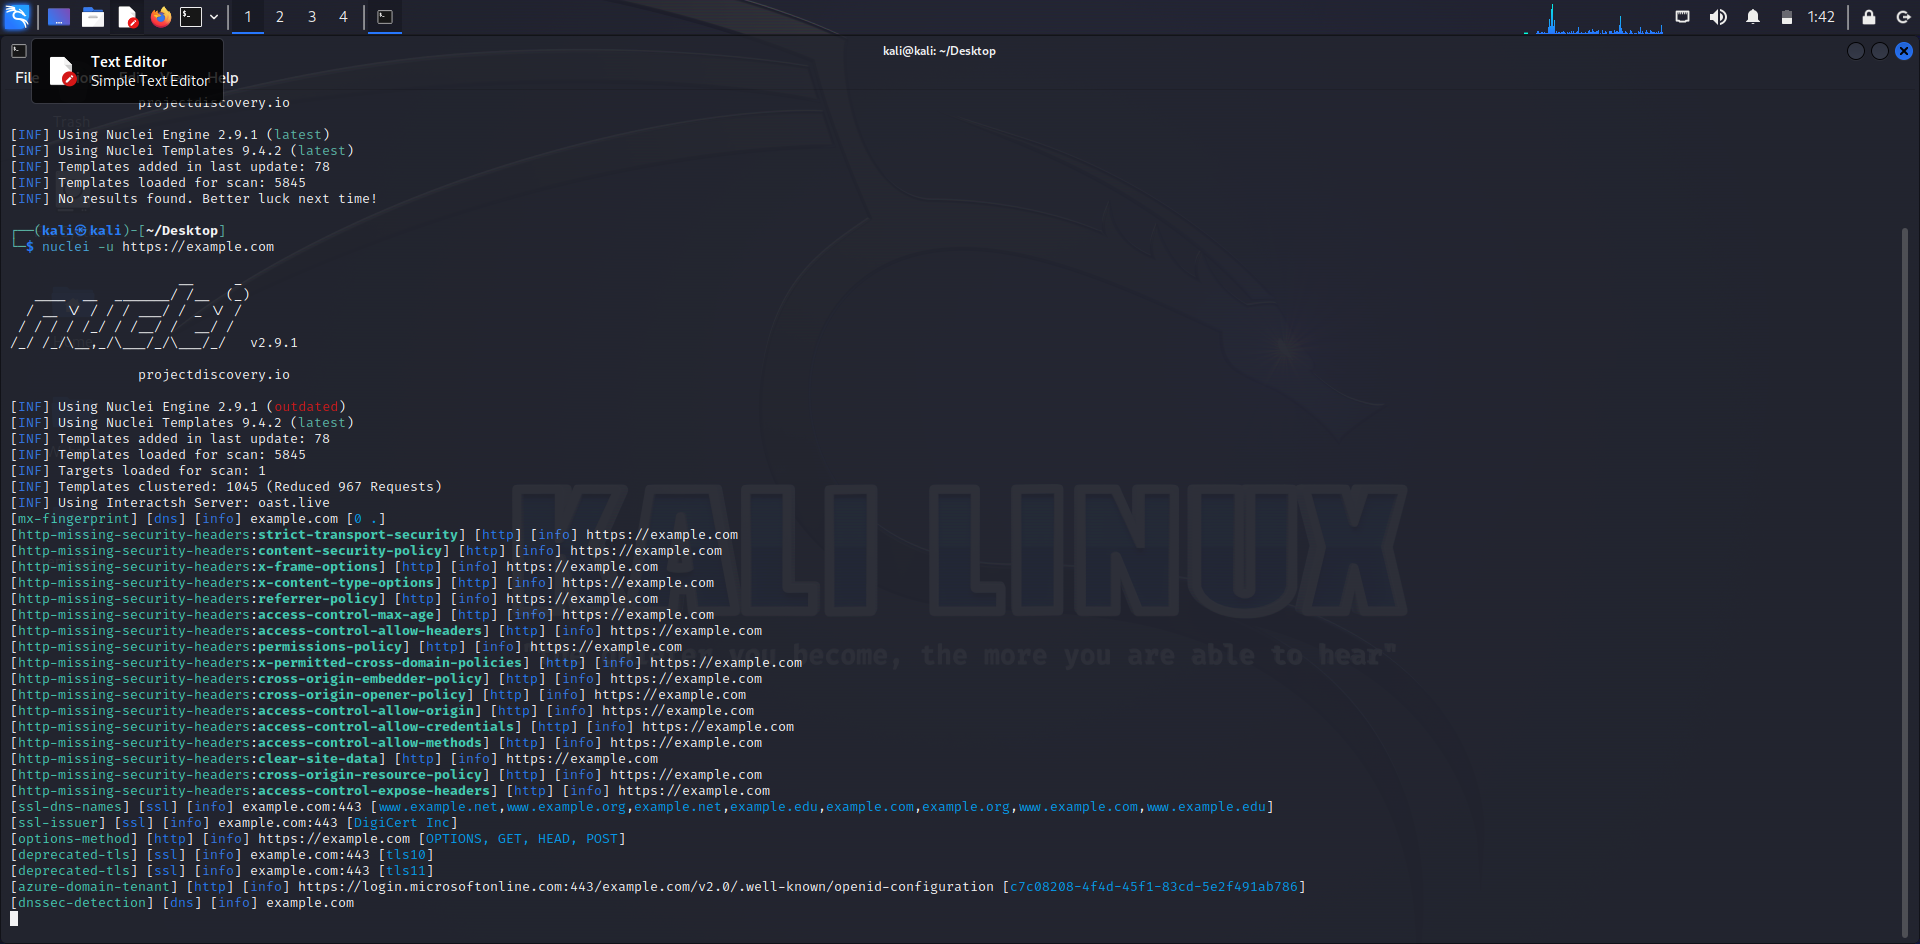
For scanning for a single domain -
nuclei -u https://example.com
For scanning for a number of URLs -
nuclei -list urls.txt
(here urls.txt is a text file containing a list of all URLs we wanted to scan)
You can learn more about the usage by going through the below URL.
https://nuclei.projectdiscovery.io/nuclei/get-started/#running-nuclei
For learning about how you can create your own custom yaml templates, read the below blog.
https://nuclei.projectdiscovery.io/templating-guide/
That is it today, we will learn about some other tools for bug hunting in upcoming blogs. Till that keep reading other blogs on Hacklido.
Follow me on Twitter: https://twitter.com/Dheerajydv19